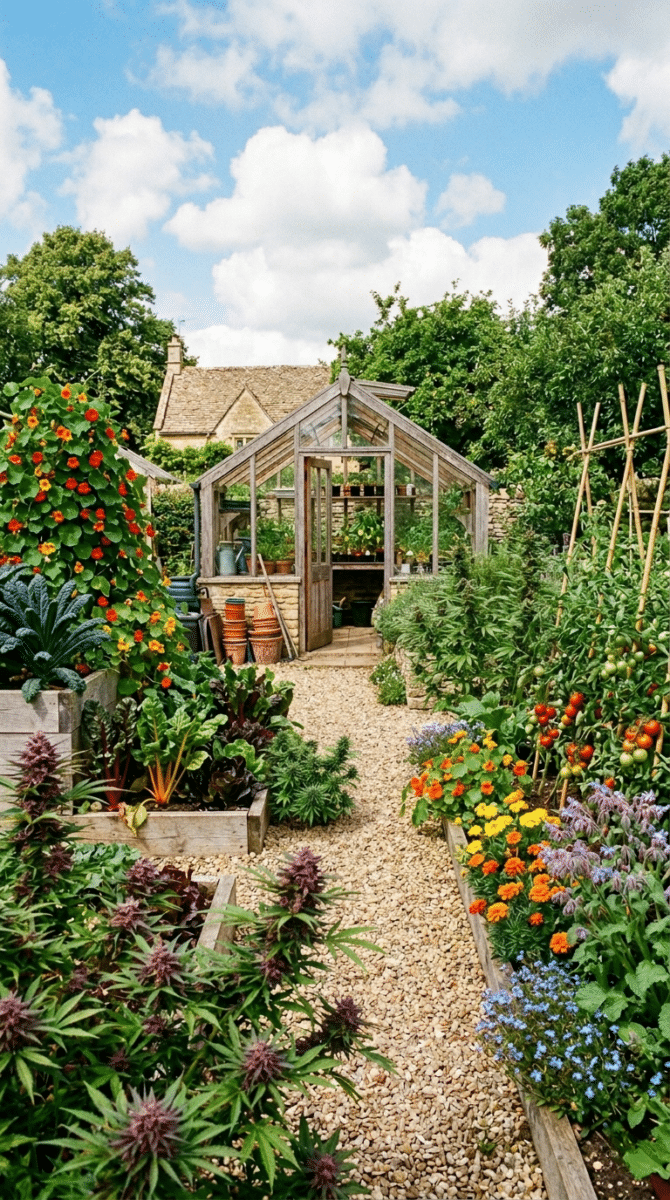

How to Grow Cannabis
How to grow weed from seed to harvest in 12 steps. Germination, flowering, and drying tips for growing cannabis indoors or outdoors.
Read the full guide as text
1. Germinate Seeds 2 to 7 days
Wet two paper towels until damp, place seeds an inch apart on one, and fold the other over the top. Seal in a zip-lock bag somewhere dark and warm, 70 to 80 degrees F. Check every 12 to 24 hours for a white taproot at least a quarter inch long, then plant immediately.
Outdoor growers: Germinate indoors regardless of where the plant will finish, since early spring outdoor temperatures are too unpredictable. Move seedlings outside after the seedling stage once nighttime temps stay consistently above 50 degrees F.
Indoor growers: Plant the sprouted seed directly into your first container under a grow light. Autoflower growers should skip the paper towel and plant the seed directly into its final 3 to 5 gallon pot, since autoflowers do not tolerate transplanting.
2. Seedling Stage 1 to 2 weeks
Plant about three quarters of an inch deep in moist, not wet, seedling mix, taproot down, without packing the soil. Start in a small container like a solo cup or 4 inch pot, which makes overwatering, the most common cause of seedling death, easier to avoid.
Outdoor growers: Keep seedlings indoors under a grow light for the first 1 to 2 weeks regardless of season. Harden off gradually once they have 2 to 3 sets of true leaves and nights stay above 50 degrees F.
Indoor growers: Run the light 18 hours on, 6 off, starting 24 to 30 inches above the seedling. A small fan on low nearby strengthens the stem and helps prevent damping off.
3. Transplant 1 day
Transplant once the plant is roughly 4 to 6 inches tall with 3 to 4 sets of true leaves, or once roots circle the drainage holes. Water a few hours beforehand, then slide the intact root ball into a new pot and water gently. Never transplant autoflowers.
Outdoor growers: Moving into the ground, dig a hole at least twice the size of the root ball and mix native soil with quality compost. In containers outdoors, a 5 to 15 gallon pot suits most plants.
Indoor growers: Most indoor photoperiod plants move through a solo cup, then a 1 gallon pot, then a 3 or 5 gallon final pot. Some drooping for a day or two afterward is normal transplant shock.
4. Vegetative Growth Varies by method
During veg the plant builds the stems, branches, and bud sites it will flower on. A bigger, healthier plant in veg generally means more at harvest.
Outdoor growers: Photoperiod plants veg naturally from spring through midsummer as long as days stay longer than about 14 hours of light, with no action needed from the grower. Autoflowers begin flowering on their own 3 to 5 weeks after germination regardless of season.
Indoor growers: Hold lights at 18 hours on, 6 off, typically vegging 1 to 4 weeks before flipping to flower. Feed nitrogen forward nutrients and water once the top inch of soil dries and the pot feels lighter.
5. Flip to Flower Photoperiod only
Cannabis flowers in response to shortening days. This happens naturally outdoors and is controlled manually indoors by changing the light schedule. This step does not apply to autoflowers, which flower on their own timeline.
Outdoor growers: Photoperiod plants begin flowering on their own as days shorten in late summer, typically showing pre-flowers in July, with harvest between late September and early November depending on latitude and strain.
Indoor growers: Switch the timer from 18 on/6 off to 12 on/12 off once the plant is about one third of the final desired height, since plants typically double or triple in size during the early flower stretch. The dark period must stay completely uninterrupted.
6. Early Flowering Weeks 1 to 3 of flower
The first couple weeks still look like late veg, then around week 2 to 3 small clusters of white hairs, called pistils, appear at each bud site, marking the start of flower formation.
Outdoor growers: Support wide reaching branches with stakes or ties as bud sites develop, and begin checking dense clusters regularly for early bud rot as fall approaches.
Indoor growers: Add a trellis net or soft ties for branch support during the stretch. Shift fully to bloom nutrients with lower nitrogen and higher phosphorus and potassium, and use a cannabis VPD chart to dial in temperature and humidity together.
7. Peak Flowering Weeks 4 to 8 of flower
Buds stack up at every site, trichomes multiply, and the smell becomes very noticeable. This is the longest phase, and patience is the main skill required.
Outdoor growers: Watch for rain, humidity, and temperature swings as fall arrives. Check dense bud clusters regularly for bud rot, feed a bloom fertilizer through about week 6, then back off in the final 1 to 2 weeks.
Indoor growers: Keep temperature and humidity in the late flower range using a VPD chart, and maintain gentle airflow through the canopy. Consider flushing with plain water for the final 1 to 2 weeks if synthetic nutrients were used heavily.
8. Harvest 1 day
Check trichomes with a jeweler's loupe or digital microscope. Clear means not ready, cloudy or milky white means approaching peak, mostly cloudy with some amber is peak and where most people harvest, and mostly amber means THC has begun degrading toward a more sedating effect.
Outdoor growers: Outdoor harvest timing runs roughly late September to early November in the northern hemisphere depending on strain and climate. If a wet cold front is approaching, harvesting slightly early is safer than risking bud rot.
Indoor growers: Cut branches with clean scissors or pruning shears. Harvest the whole plant at once, or take top colas first if they mature ahead of the lower buds.
9. Hang to Dry 7 to 14 days
Hang branches or whole plants upside down in a dark space with good airflow, 60 to 70 degrees F and 55 to 65 percent relative humidity, with a fan circulating air but not blowing directly on the buds. Drying too fast destroys terpenes and makes the final product harsh.
Outdoor growers: Large harvests need a space like a garage or basement with room for branches to hang without touching, since overcrowding traps moisture and invites mold. Dry in batches if needed.
Indoor growers: A grow tent or spare closet typically works well, using the same fans and environment controls from the grow. Drying usually takes 10 to 14 days at the right conditions; under 7 days means the space is too warm or dry.
10. Stem Snap Test Quick daily check
Bend a medium sized stem. If it bends and stays bent, it is still too wet. If it bends with a faint crackling sound, it is close but needs another day or two. If it snaps cleanly with an audible crack, it is ready to trim and jar.
Outdoor growers: Large outdoor harvests with thicker stems and denser buds often need closer to the full 14 days before passing this test. Do not rush the test just because the outside of the bud feels dry.
Indoor growers: This test applies the same way regardless of where the plant was grown. Jarring buds before they are dry enough is the leading cause of mold during the cure.
11. Trim Buds 2 to 6 hours
Most home growers dry trim after the plant has fully dried, since leaves curl inward and come off more cleanly. Remove large fan leaves entirely, trim sugar leaves close to the bud, and cut buds from the branch leaving only a small stem nub.
Outdoor growers: Large harvests are easier trimmed in sessions over several days. Some growers do a rough wet trim right after harvest to remove fan leaves and speed drying, then a final clean dry trim before jarring.
Indoor growers: Indoor buds are typically smaller and more straightforward to trim. Clean scissors with isopropyl alcohol every 15 to 20 minutes, since resin buildup makes them sticky.
12. Jar & Cure 2 to 8 weeks
Fill mason jars about three quarters full without packing them tight, seal, and store in a cool, dark place. Burp each jar once or twice a day for 10 to 15 minutes for the first two weeks, then reduce to every few days. Most strains fully cure in 4 weeks, with some benefiting from 6 to 8.
Outdoor growers: Label each jar with strain and harvest date. Confirm buds passed the stem snap test before jarring, since larger outdoor buds can hold hidden moisture longer than they appear to.
Indoor growers: Boveda or Integra 62 percent humidity packs can help maintain consistent humidity during the cure if storage conditions fluctuate.
Growing weed: common questions
How long does it take to grow weed from seed?
3 to 5 months, seed to harvest. Autoflowers finish in 10 to 12 weeks. Outdoor photoperiod plants follow the season, ready between late September and early November.
How long does it take for seeds to germinate?
Most seeds show a taproot within 1 to 7 days using the paper towel method. Plant as soon as the taproot reaches a quarter inch.
How do you germinate cannabis seeds?
Place seeds between two damp paper towels, seal in a bag, and keep warm and dark. Check every 12 to 24 hours for a taproot, then plant right away.
Do seeds need light to germinate?
No. Cannabis seeds germinate in the dark. Light matters once the seedling breaks the surface, not before.
Is it hard to grow weed from seed?
No. Cannabis is resilient. Most new growers succeed by starting with quality seeds, using good soil, and avoiding overwatering, the most common mistake.
Can you grow weed indoors and outdoors the same way?
The stages are the same, but flowering differs. Indoors you trigger it with a 12 hour on, 12 hour off light schedule. Outdoors, photoperiod plants flower as days shorten, and autoflowers flower on their own regardless.
How much does it cost to grow weed at home?
A few hundred dollars for seeds, soil, pots, nutrients, and a light indoors. Seeds are the smallest cost, and one plant covers it.
What are the best seeds for a first grow?
There is no single best type. Photoperiod and autoflower cannabis each have their own considerations, and every seed we sell is feminized. Reach out and we will help you pick the right fit.
What is the difference between autoflower and photoperiod seeds?
Autoflower seeds flower on their own timeline regardless of light schedule. Photoperiod seeds flower when you shorten the light, indoors or as days shorten outdoors. All of our seeds are feminized, so both types grow female plants only.
Do you need special seeds to grow weed?
Just viable cannabis seeds from a reliable source. They are federally legal under the 2018 Farm Bill, and Triangle Seeds ships to all 50 states.
Where Are You Growing?
The basics are the same everywhere, but indoor and outdoor grows each have their own setup. Pick the guide that matches your space.
Outdoor
Outdoor Cannabis Growing Guide
Site selection, soil prep, watering, plant support, and what to expect through the season. Everything you need to set up your first outdoor grow.
Read the Outdoor GuideIndoor
Indoor Cannabis Growing Guide
Lights, tents, airflow, and dialing in your environment. Everything you need to run a strong, controlled indoor grow from seed to harvest.
Read the Indoor Guide